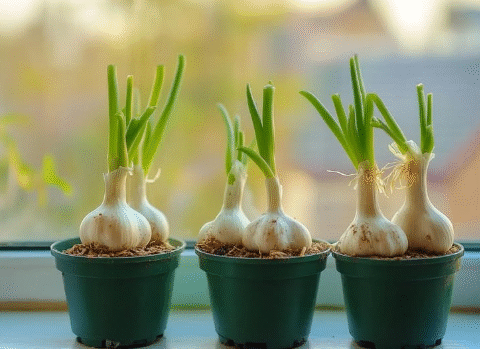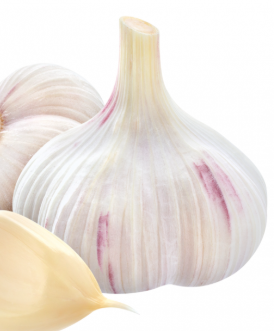
🌱 How to Grow Garlic Quickly with Strong Roots in a Plastic Wastebasket
Garlic (Allium sativum) is more than just a flavorful kitchen staple — it’s a nutritional powerhouse with proven health benefits, from boosting immunity to improving heart health. While traditional soil beds are the go-to for many gardeners, innovative urban growers are discovering that a plastic wastebasket can be a surprisingly effective container for cultivating garlic with abundant, healthy roots. 🧄
This step-by-step guide will walk you through the process of planting garlic in a plastic wastebasket, highlight expert tips for rapid growth, and provide valuable insights into maximizing your harvest in a small space. Whether you’re a seasoned gardener or a beginner, this method can help you grow thriving garlic plants — even in the smallest urban balcony.
💡 Why Choose a Plastic Wastebasket for Garlic Growing?
While unconventional, using a plastic wastebasket provides several distinct advantages for garlic cultivation:
- ✅ Excellent Drainage – Built-in holes allow excess water to escape, preventing waterlogging and root rot.
- ✅ Improved Root Growth – Deep vertical space encourages the garlic roots to develop long and strong, leading to healthier bulbs.
- ✅ Better Aeration – The perforated design ensures adequate airflow to the soil, reducing the risk of fungal issues.
- ✅ Space-Saving Design – Perfect for balconies, patios, or small gardens where space is at a premium.
Expert Insight: Dr. Leila Nour, an urban horticulture specialist, explains, “Garlic grown in a wastebasket often develops a stronger root network due to increased oxygen flow, which can lead to faster top growth and bigger bulbs.”
🪴 Step-by-Step Guide to Growing Garlic in a Plastic Wastebasket
Step 1: Choosing the Right Wastebasket
Select a plastic wastebasket with multiple perforations on the sides and bottom for optimal drainage and aeration. Ideally, choose one with a depth of at least 12–16 inches to allow proper root development.
Step 2: Preparing the Basket
- Clean the wastebasket thoroughly to remove any chemicals or residues.
- If the holes are too large, line the inside with a fine mesh or breathable landscape fabric to prevent soil loss.
Step 3: Choosing Quality Garlic Cloves
Pick large, firm, organic garlic bulbs. Avoid supermarket garlic treated with growth inhibitors — instead, purchase seed garlic from a nursery or trusted supplier.
Step 4: Preparing the Soil Mix
Use a loose, well-draining mix containing:
- 40% garden soil
- 40% compost or aged manure
- 20% perlite or coarse sand for aeration
Mix in bone meal or rock phosphate for root development.
Step 5: Planting Garlic
- Break bulbs into individual cloves, leaving the papery skin intact.
- Plant cloves 2 inches deep, pointed side up, spaced 4 inches apart.
- Fill the wastebasket evenly, leaving at least 2 inches from the rim for watering space.
Step 6: Watering & Care
Water thoroughly after planting. Keep the soil consistently moist but not waterlogged. In colder climates, mulch with straw to protect against frost.
Step 7: Fertilization Schedule
Feed with a nitrogen-rich organic fertilizer every 4–6 weeks until bulbs begin forming. Switch to a potassium-based fertilizer for bulb maturity.
🍽 Nutritional & Health Benefits of Garlic
| Nutrient | Per 100g of Garlic | Health Benefit |
|---|---|---|
| Vitamin C | 31.2 mg | Boosts immune system |
| Vitamin B6 | 1.2 mg | Supports brain health |
| Manganese | 1.67 mg | Promotes bone strength |
| Allicin | Varies | Antibacterial & antiviral properties |
| Fiber | 2.1 g | Aids digestion |
🌿 Health & Safety Tips for Urban Garlic Growing
- Wear gloves when handling compost or soil to prevent skin irritation.
- Ensure your wastebasket has no sharp edges or toxic plastic components.
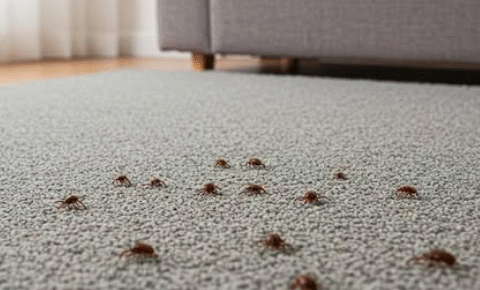
- Keep containers elevated if you have pest issues, such as rodents or slugs.
- Water in the morning to allow foliage to dry before nightfall, reducing fungal risks.
❓ Frequently Asked Questions (FAQs)
- How long does garlic take to grow?
Typically 6–8 months from planting to harvest, depending on variety and climate. - Can I grow garlic indoors in a wastebasket?
Yes, if you provide at least 6 hours of direct sunlight or supplemental grow lighting. - What’s the best garlic variety for container growing?
Softneck varieties tend to adapt better to confined spaces. - When is the best time to plant garlic?
In most climates, plant in fall for a summer harvest. In warmer zones, early spring planting is also possible. - Why are my garlic leaves turning yellow?
It can indicate overwatering, nutrient deficiency, or natural maturity before harvest. - How do I know when garlic is ready to harvest?
When 40–60% of the leaves have turned brown, bulbs are usually mature. - Can I reuse the soil for the next season?
It’s best to refresh or replace part of the soil to prevent disease buildup. - Do I need to cure garlic after harvesting?
Yes, curing for 2–3 weeks in a dry, airy space improves storage life. - How should I store garlic after harvesting?
Keep in a cool, dark, well-ventilated place. Avoid refrigeration for long-term storage. - Will garlic grown in wastebaskets taste different?
No — but proper soil nutrition and curing can enhance flavor intensity.
🌟 Final Thoughts
Growing garlic in a plastic wastebasket is a smart, sustainable, and space-saving method that can yield abundant, flavorful bulbs. With the right preparation, soil mix, and care routine, you can enjoy homegrown garlic with robust roots and exceptional taste — even if you don’t have a traditional garden space. 🌱🧄