🍶 How to Prepare Homemade Rice & Clove Toner
Now that the appeal of homemade rice & clove toner is clear, it is time to turn interest into practice. Preparation matters. A natural remedy sounds simple, but the difference between a refreshing homemade toner and a disappointing one often comes down to method. When handled carefully, this toner can feel elegant, soothing, and pleasantly fresh. When prepared carelessly, it can end up too strong, too weak, or too short-lived to be useful.
The first thing to understand is that rice is the foundation and clove is the accent. Rice provides the body, softness, and familiar skin-friendly feel. Clove adds character, but it should never overpower the formula. Think of the toner as mostly rice, lightly lifted by clove. That mindset helps keep the preparation balanced and skin-conscious.
You do not need a complicated setup. In fact, part of the beauty of this recipe is how approachable it is. A small saucepan or bowl, clean water, rice, whole cloves, a strainer, and a clean storage bottle are usually enough. What matters most is cleanliness and moderation. Homemade skincare should always begin with clean tools, clean hands, and fresh ingredients.
📝 Basic Ingredients for Rice & Clove Toner
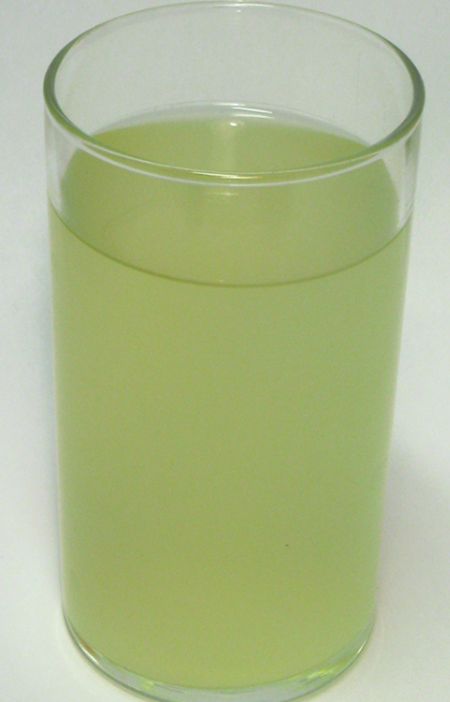
A simple version of rice and clove toner can be made with a small handful of rice, a cup or two of water, and only a few whole cloves. Some people prefer to use plain white rice because it is common and easy to work with. Others use other rice varieties, but the main goal is simplicity. The toner does not need to be fancy to be effective as a refreshing step in your routine.
Whole cloves are usually the better choice for homemade preparations because they are easier to steep gently and strain out completely. Ground clove can be messy and more difficult to control. For facial skincare, control matters. You want a light infusion, not an aggressive mixture.
Some people also like to add a spoonful of rose water or a little aloe vera gel after straining and cooling, but the core recipe works perfectly well on its own. Starting simple is often best because it helps you understand how your skin responds before you begin customizing anything.
👩🍳 Step-by-Step Instructions to Make Rice & Clove Toner at Home
Step 1: Rinse the rice well
Begin by rinsing the rice thoroughly. This removes surface dust and helps create a cleaner final toner. The goal is not to use the cloudy rinse water from the very first wash as your finished toner. Instead, you want properly cleaned rice that can be soaked or lightly cooked in fresh water. This extra moment of care improves the overall quality of the preparation.
Step 2: Choose your rice water method
There are two popular ways to make the rice base. The first is the soaking method, where rinsed rice is left in clean water for a period of time until the water turns lightly milky. The second is the gentle boiling method, where rice is lightly simmered in extra water and the resulting liquid is strained off after cooling. The soaking method feels lighter and more delicate. The boiling method can produce a silkier, slightly richer liquid. Both can work well for a homemade toner.
For many beginners, the