🥚 The Cook’s Secret to Effortless Hard-Boiled Eggs
No more shattered shells. No more frustration. No more “lunar landscape” egg whites.
We’ve all been there.
You carefully lower eggs into water.
You time them perfectly.
You cool them gently.
Then you tap. You roll. You peel.
And half the egg white clings stubbornly to the shell like tissue paper stuck to glass.
The result? A cratered egg that looks more like the moon than something you’d proudly serve at brunch.
Here’s the comforting truth:
It’s not you.
And it’s not bad luck.
It’s technique — and a little egg science.
Let’s uncover the gentle, time-tested method that turns peeling from a battle into a breeze.
🔬 Why Fresh Eggs Fight Back
Most recipes skip this part.
The fresher the egg, the harder it is to peel.
Here’s Why
Inside every egg, between the shell and the white, is a thin membrane.
In very fresh eggs:
- The egg white (albumen) is slightly more acidic.
- The inner membrane clings tightly to the cooked white.
- That tight bond makes peeling difficult.
As eggs age (about 7–10 days):
- The pH rises.
- The white firms up differently during cooking.
- The bond loosens.
- The shell slips off more easily.
Professional chef Daniel Harper explains:
“Farm-fresh eggs taste incredible, but they’re notoriously stubborn when hard-boiled. It’s chemistry, not skill.”
But what if your eggs are fresh from the farmers’ market?
You don’t have to wait a week.
There’s a smarter way.
🔥 The “Hot Start + Ice Shock” Method
Tested by home cooks, chefs, and food science experts alike.
This method doesn’t rely on vinegar, baking soda, or poking holes in shells.
It works by controlling temperature changes — encouraging the egg to separate naturally from its shell.
🛠 What You’ll Need
- Eggs (fresh or slightly aged)
- A saucepan with a tight-fitting lid
- Water
- A bowl filled ½ with ice and ½ with cold water
- A slotted spoon
- About 15 minutes
🥄 Step-by-Step: Foolproof Hard-Boiled Eggs
Step 1: Bring Water to a Boil FIRST
Fill a saucepan with enough water to cover the eggs by about 1 inch.
Bring the water to a full rolling boil before adding the eggs.
This is the key difference from many traditional methods.
Food scientist Dr. Maria Jensen explains:
“Starting eggs in boiling water causes the proteins near the shell to set quickly, reducing bonding to the membrane.”
Step 2: Gently Lower Eggs In
Using a slotted spoon, carefully lower eggs into the boiling water.
Reduce heat slightly to maintain a gentle boil.
Step 3: Cover & Cook
- Large eggs: 11–12 minutes
- Medium eggs: 10–11 minutes
- Extra-large eggs: 12–13 minutes
Keep the boil steady but not aggressive.
Step 4: Immediate Ice Shock
Transfer eggs immediately to the ice bath.
Let them sit for at least 5–10 minutes.
This rapid cooling does two things:
- Stops cooking (preventing green yolk rings)
- Causes the egg to contract slightly inside the shell
That tiny contraction helps separate the membrane from the white.
Step 5: Crack & Peel Under Running Water
Tap the wider end first (where the air pocket sits).
Peel under cool running water to help lift stubborn bits.
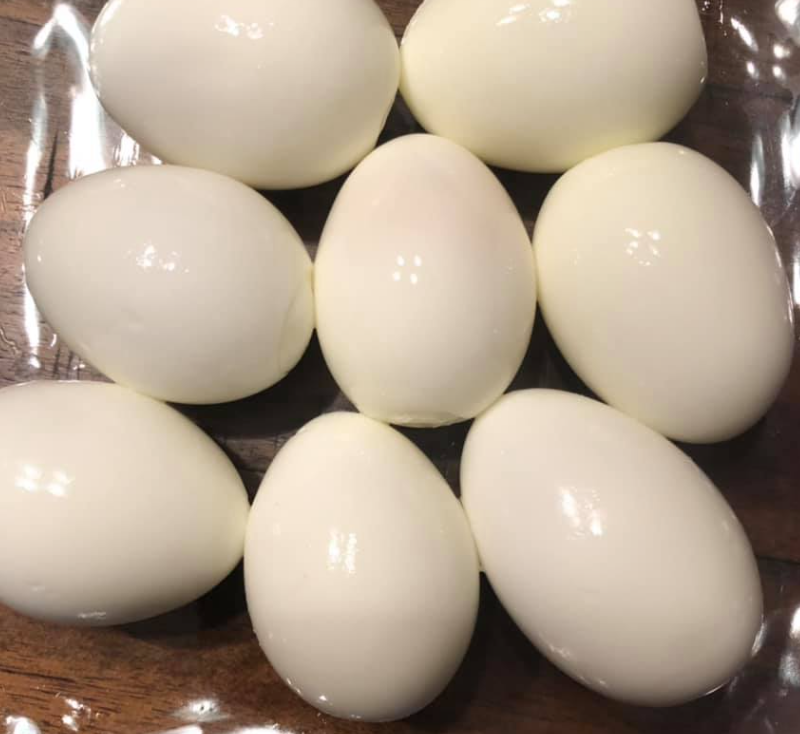
The shell should release in satisfying, large pieces.
📊 Hard-Boiled Egg Nutrition Overview
| Nutrient | Amount (1 Large Egg) | Weight | Function | Practical Benefit |
|---|---|---|---|---|
| Protein | 6 grams | ~50g egg | Muscle maintenance | Supports satiety |
| Vitamin B12 | 0.6 mcg | Per egg | Nerve function | Energy metabolism support |
| Choline | 147 mg | Per egg | Brain function | Cognitive support |
| Healthy Fats | 5 grams | Per egg | Energy source | Helps with fullness |
⚖️ Cold Start vs Hot Start: What’s Better?
Cold Start Method
- Eggs heat gradually
- More membrane sticking
- Higher peel failure rate (especially fresh eggs)
Hot Start Method
- Proteins set faster
- Better membrane separation
- More consistent peel success
For easy peeling, hot start wins.
🚫 Common Mistakes That Ruin Peeling
1️⃣ Skipping the Ice Bath
This step is not optional.
2️⃣ Overcooking
Leads to rubbery whites and greenish yolks.
3️⃣ Peeling Immediately While Hot
Wait until fully cooled.
4️⃣ Using Very Fresh Eggs with Cold Start
The toughest combination for peeling.