DIY Bathroom Cleaner: Remove Limescale, Mold & Calcium Naturally
Transform your cleaning routine with a powerful yet simple homemade bathroom cleaner that tackles limescale, mold, hard-water stains, and calcium build-up—all without harsh chemicals. Here’s how to make and use it safely across toilets, tiles, sinks, and more.
Why This Cleaner Works So Well
This recipe combines liquid soap, baking soda, hydrogen peroxide, and white vinegar to harness multiple cleaning actions:
- Baking soda: A gentle abrasive and deodorizer ideal for scrubbing away grime and neutralizing odors :contentReference[oaicite:1]{index=1}.
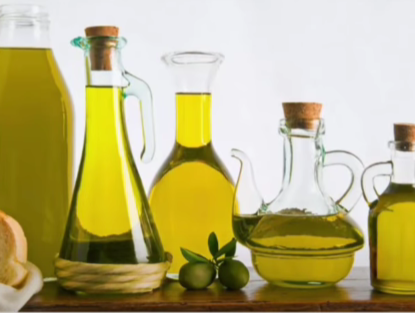
- White vinegar: Low‑cost acid that dissolves mineral deposits like limescale and inhibits mold growth :contentReference[oaicite:2]{index=2}.
- Hydrogen peroxide (3%): Natural disinfectant and stain‑whitener effective against mold, bacteria, and calcium deposits :contentReference[oaicite:3]{index=3}.
- Liquid soap: Helps dissolve grease and oils for smoother cleaning action.
Together they form a multi‑surface cleaner that scrubs, disinfects, and brightens—while being biodegradable and safe for septic systems :contentReference[oaicite:4]{index=4}.
Expert Cleaning Tips & Safety Notes
- Always wear gloves when using peroxide or vinegar to protect skin from irritation.
- Work in a well‑ventilated area—especially when spraying vinegar or hydrogen peroxide :contentReference[oaicite:5]{index=5}.
- Label the spray bottle with the date—it’s effective for up to ~20 days when stored cool and dark :contentReference[oaicite:6]{index=6}.
- Never mix this solution with bleach, ammonia, or other cleaners; that can create toxic gases :contentReference[oaicite:7]{index=7}.
- Test in a small hidden spot before using on stone surfaces—acidic vinegar may etch marble or granite :contentReference[oaicite:8]{index=8}.
Ingredients & Their Cleaning Benefits
| Ingredient | Quantity | Primary Action |
|---|---|---|
| Liquid soap | 120 ml | Dissolves grease for smoother cleaning |
| Baking soda | 1 cup | Abrasive scrub; deodorizes and lifts residue |
| Hydrogen peroxide (3%) | 1 cup | Disinfects, whitens, and kills mold spores |
| White vinegar | 1 cup | Dissolves mineral scale and neutralizes mold |
Step-by-Step Recipe & Usage Instructions
1. Mixing the Cleaner
In a bowl, add 1 cup baking soda. Stir in 120 ml liquid soap until smooth. Gradually pour in 1 cup hydrogen peroxide while mixing gently. Finally, stir in 1 cup vinegar—expect some fizzing. Funnel into a labeled spray bottle.
2. How to Use
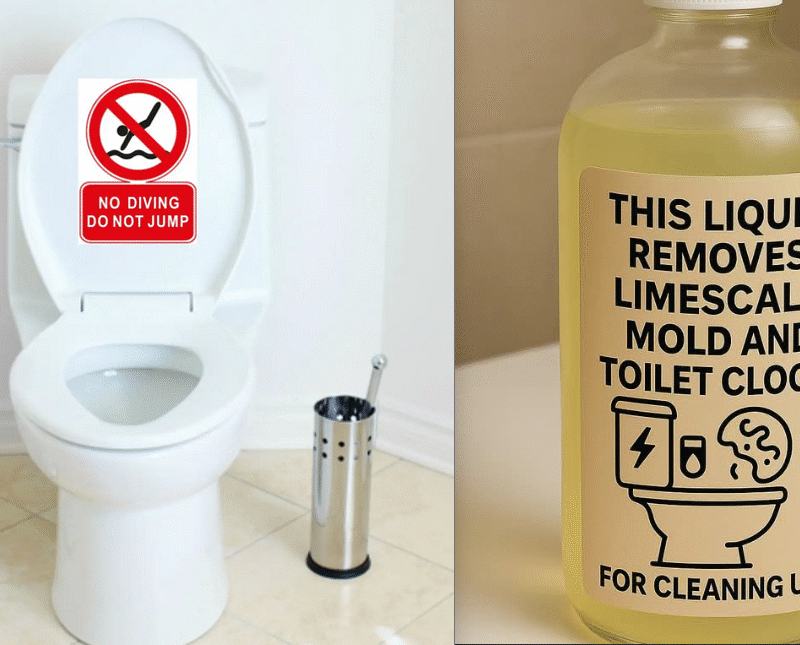
- Toilet bowl: Spray under the rim and around bowl. Wait about 5 minutes, scrub with a brush, then flush.
- Tiles, grout, sinks, tubs: Spray generously, wait 5–10 minutes, scrub lightly, and rinse. For heavy stains, let sit longer.
- Fixtures & taps: Apply, let sit, scrub gently and rinse. Avoid soaking marble or sealed stone.
Quick Use & Benefit Table
| Surface | Method | Benefit |
|---|---|---|
| Toilet bowl | Spray → wait 5 min → brush → flush | Removes limescale, calcium, and mold rings |
| Tiles & grout | Spray → wait 5–10 min → scrub | Lifts mold, soap scum, and mineral buildup |
| Sinks/tubs | Spray → wait → scrub lightly → rinse | Brightens surfaces and removes residue |
| Faucets & fixtures | Spray → wait → wipe off | Clears discolored scale and restores shine |
Expert Endorsements & Cleaning Science
Cleaning experts widely recommend combining baking soda and vinegar for stain removal and odor control, while hydrogen peroxide adds antimicrobial action without harsh fumes :contentReference[oaicite:9]{index=9}.
Hospitality pros and green‑clean advocates highlight that white vinegar tackles limescale effectively, and baking soda doubles as an abrasive scour safe for most bathroom surfaces :contentReference[oaicite:10]{index=10}.
Personalization Tips & Scent Boosters
- Add 10 drops of tea tree or lavender essential oil to the mix before bottling for extra mold-fighting support and a fresh aroma :contentReference[oaicite:11]{index=11}.
- For a citrus twist, substitute up to ¼ cup of lemon juice for vinegar (though shelf life may shorten).
- Shake bottle before each use—ingredients may settle over time.
10 Common FAQs 🤔
- Is this safe on natural stone?
Not recommended—vinegar can etch marble or granite. Test first or avoid. - Can it clean mold?
Yes—hydrogen peroxide and vinegar both inhibit mold growth, especially when left on surfaces awhile. - Will bubbles cause issues?
The fizz is normal; just spray carefully to avoid overflow. - How often should I make fresh batch?
Use within ~20 days for best performance—and store in cool, dark place. - Is it safe with septic tanks?
Yes—ingredients are biodegradable and safe for septic systems :contentReference[oaicite:12]{index=12}. - Does it disinfect like commercial cleaners?
Hydrogen peroxide disinfects organically; vinegar helps remove dirt. For serious pathogens, more potent EPA-approved antiseptics are better :contentReference[oaicite:13]{index=13}. - Can I use in foam hand-spray?
No—baking soda may clog pumps. Stick to spray bottles. - Why let it sit before scrubbing?
Sitting time lets acids and peroxide break down minerals and mold more effectively. - Can kids or pets be around during use?
Keep them away until surfaces are fully rinsed and dry—ingredients can be irritating if contacted or ingested. - Does it smell strong?
Vinegar odor dissipates quickly. Essential oils can help mask it.
Why This DIY Cleaner Is a Game‑Changer
This blend tackles multiple bathroom problems with a single bottle—eliminating mold, limescale, and soap scum naturally. It’s low-cost (under a few dollars per batch), environmentally friendly, and surprisingly effective thanks to complementary actions from each ingredient.
Pro Tips for Long-Term Results
- Use daily spray for maintenance—prevents buildup before it starts.
- Wipe down surfaces after use to avoid sticky residue.
- Ventilate well to reduce fumes from vinegar/peroxide.
- Label your bottle with date and ingredients for safety and clarity.
Final Thoughts
Your DIY bathroom cleaner is a smart, efficient, and eco-friendly solution that cleans deeply without reliance on harsh chemicals. Whether you’re addressing discoloration around the rim of the toilet or tackling soap scum on tiles, this accessible recipe delivers results the natural way.
Made from pantry staples, supported by cleaning science, and easy to customize—this cleaner gives your bathroom the sparkling finish you deserve. 🛁