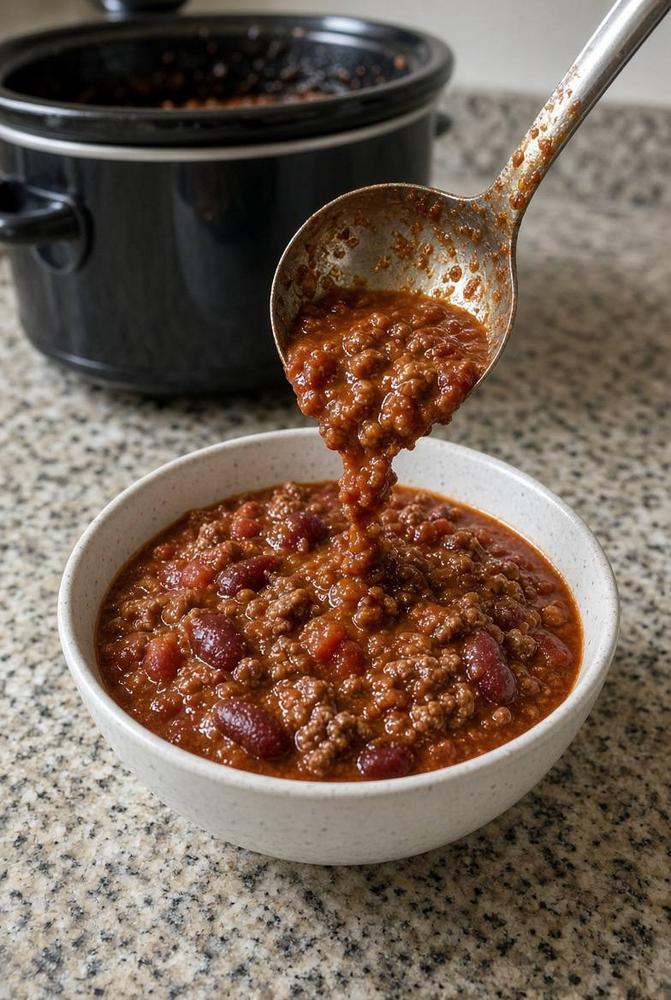
Instructions
- If browning meat (highly recommended for flavor): Heat olive oil in a large skillet over medium-high heat. Add ground beef and cook, breaking it up with a spoon, until browned and no longer pink. Drain off any excess fat.
- Transfer the browned ground beef (or raw ground beef if truly “dump-and-go”) to the slow cooker.
- Add the chopped yellow onion and minced garlic to the slow cooker.
- Pour in the undrained diced tomatoes, tomato sauce, and tomato paste.
- Add the drained and rinsed kidney beans and black beans to the slow cooker.
- Stir in the undrained diced green chiles.
- Add all the seasonings: chili powder, ground cumin, smoked paprika, cayenne pepper (if using), salt, and black pepper.
- Pour in the beef broth (or water).
- Stir all the ingredients thoroughly in the slow cooker until well combined.
- Cover the slow cooker with its lid.
- Cook on LOW for 6-8 hours or on HIGH for 4-6 hours, or until the chili is hot, flavorful, and the ingredients have melded beautifully.
- About 30 minutes before serving, taste the chili and adjust seasonings as needed, adding more salt, pepper, or chili powder to your preference.
- Serve hot with your favorite toppings.
Cooking Tips and Variations
For the best flavor, don’t skip browning the ground beef. While this is a “dump-and-go” recipe, taking an extra 10 minutes to brown the meat before adding it to the slow cooker creates a deeper, richer flavor profile due to the Maillard reaction. Always drain the excess fat after browning to prevent your chili from being greasy. If you’re truly short on time, you can add the raw ground beef directly to the slow cooker, but it will result in a slightly different texture and less robust flavor. If you choose to go truly dump-and-go with raw meat, ensure you break it up well when stirring and consider giving it an extra hour on high to cook through properly.
Experiment with your beans! While kidney and black beans are classic, feel free to substitute or add other varieties like pinto beans or cannellini beans for different textures and flavors. Just be sure to drain and rinse all canned beans thoroughly to reduce sodium and improve digestibility. For an extra layer of smoky flavor, consider adding a dash of liquid smoke or a chipotle pepper in adobo sauce, minced, to the mix. If you like a spicier chili, increase the cayenne pepper or add a few dashes of your favorite hot sauce during the last hour of cooking. For a milder version, simply omit the cayenne pepper.
To thicken your chili, if it appears too thin towards the end of the cooking time, you can create a cornstarch slurry. Mix 1 tablespoon of cornstarch with 1 tablespoon of cold water until smooth, then stir it into the chili during the last 30 minutes of cooking on high. This will help create a richer, thicker consistency. Conversely, if your chili is too thick, you can thin it out by adding a little more beef broth or water, about 1/4 cup at a time, until it reaches your desired consistency. Don’t forget to taste and adjust seasonings after any additions.
Vegetable additions can also elevate this chili. Diced bell peppers (any color), shredded carrots, or even a can of drained corn can be added along with the other ingredients for extra nutrients and texture. For a vegetarian or vegan version, simply omit the ground beef and use vegetable broth instead of beef broth. You can substitute the meat with extra beans, lentils, or plant-based ground crumbles. The slow cooker is a forgiving appliance, so don’t be afraid to customize this recipe to suit your preferences and what you have on hand!
Storage and Reheating
This Slow Cooker Classic Dump-and-Go Chili is fantastic for meal prep and stores beautifully. Once the chili has cooled completely, transfer it to airtight containers. It will keep well in the refrigerator for up to 3-4 days. This makes it perfect for packing lunches or having quick dinners ready throughout the week. The flavors often deepen and improve after a day or two in the fridge, making leftovers even more delicious.
For longer storage, chili freezes exceptionally well. Portion the cooled chili into freezer-safe bags or containers, leaving a little headspace if using containers to allow for expansion. It can be stored in the freezer for up to 3-4 months. Label with the date to keep track of freshness. To thaw, simply transfer the frozen chili to the refrigerator overnight. For quicker thawing, you can place the sealed container or bag in a bowl of cold water.
To reheat, you have several options. For individual servings, microwave the chili in a microwave-safe bowl, stirring occasionally, until heated through. On the stovetop, place the chili in a saucepan over medium-low heat, stirring frequently, until it reaches your desired temperature. If reheating a large batch, you can return it to the slow cooker on the “warm” setting for an hour or two, or on low heat until thoroughly warmed. Add a splash of broth or water if it seems too thick after reheating.
Frequently Asked Questions
Can I use ground turkey instead of ground beef?
Absolutely! Ground turkey or even ground chicken works wonderfully in this chili. If using ground turkey, especially leaner varieties, you might want to add an extra tablespoon of olive oil when browning to prevent it from sticking and to help develop flavor. The cooking times and overall method remain the same, though the nutritional profile will be slightly different.
How long does this chili last in the fridge and freezer?
Properly stored in an airtight container, this chili will last for 3-4 days in the refrigerator. For longer storage, it freezes beautifully for up to 3-4 months. Make sure to cool it completely before refrigerating or freezing to maintain quality and safety.
What if my chili is too thin or too thick?
If your chili is too thin at the end of cooking, you can easily thicken it. Mix 1 tablespoon of cornstarch with 1 tablespoon of cold water to create a slurry, then stir it into the chili during the last 30 minutes of cooking on high. If it’s too thick, simply add a bit more beef broth or water, 1/4 cup at a time, until it reaches your preferred consistency. Always taste and adjust seasonings after making adjustments.
Can I make this on the stovetop or in an Instant Pot?
Yes, you can adapt this recipe for both! For the stovetop, brown the meat and sauté the onions in a large Dutch oven or pot. Then, add all remaining ingredients and bring to a simmer. Reduce heat to low, cover, and simmer for at least 1-2 hours (or longer for deeper flavor), stirring occasionally. For an Instant Pot, use the sauté function to brown the meat and onions. Add all other ingredients, stir, then secure the lid. Cook on high pressure for 20-25 minutes, followed by a natural pressure release for 10-15 minutes, then quick release any remaining pressure. Adjust liquid as needed for Instant Pot cooking, usually slightly less than slow cooker recipes.